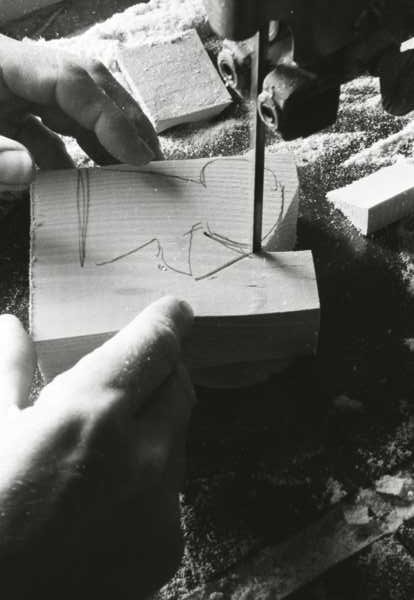
Designing
I sketch lots of ideas and choose the best ones to develop.
Most of my ideas spring from my imagination. Inspiration also comes from classic children's books. Beatrix Potter's Jeremy Fisher Frog, and her Jemima Puddle Duck with the foxy whiskered gentleman (see custom work) and characters from Kenneth Grahame's The Wind in the Willows are examples. (See small sculptures, moles).
The design process continues all the way through the carving and finishing progresses.
Customer suggestions and requests have sparked some great designs, resulting in some of my favorite carvings. (See Custom Work)
Wood Choice |
 |
Wood choice for carving is a matter of
personal preference and availability.
Northern white pine, basswood and occasionally cedar are my choices.
Basswood is the first choice of many carvers. Basswood is a tighter grained
and more consistent wood.
Each tree grows differently, so even within a species, all boards are not created equal. In general pine tends to be more unpredictable and chip-out prone than basswood and fine detail has to be done with care. However, I prefer its greater variety and character. No matter what other woods I try, I always come back to pine.
I especially love the sound and vibration the knife makes while I am carving pine.
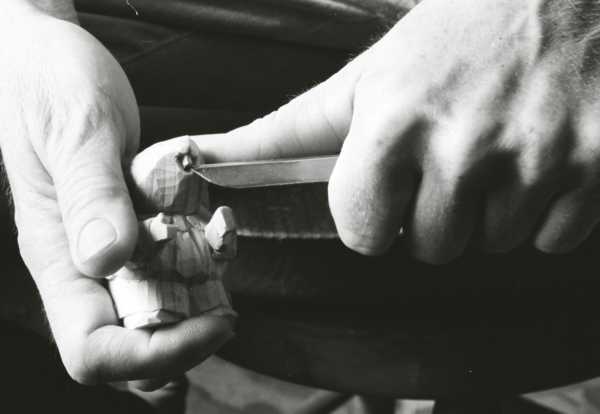 Carving
Process
There are many ways to carve.
I do 95% of my carving with just a simple X‑acto
# 36 long-blade knife.
As I carve I imagine the finished piece and keep removing wood to achieve
that image.
There are many aspects of the physical act of carving that I really like.
Each individual cut in the process has a life of it's own, contributing to
the whole. It is an enjoyable activity that after
thirty years is still
very interesting.
The carving process takes only about half of the total time it takes to
complete a piece.
 |

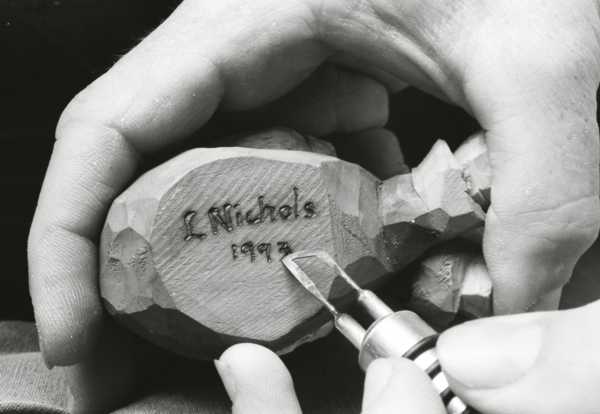
Painting and Detailing |
 |
It takes quite a bit of effort to get from
the completed carved stage to the painted and finished character.
As I proceed with the detailing and finishing, I do the part I am most sure
of and then see how it affects the next decision. I usually begin with the
outline wood-burning and applying the base coat of colors. I am continually
making decisions about clothing details, texture, color combinations and
patterns as I go along.
I use a variety of inks, paints, colored pencils, as well as wood burning,
to achieve the desired look. The eyes are often redone many times to get
them just right. Layers and layers of paint give them a raised look. When
finished, they coated with clear nail polish to give them sparkle. If there
is a ladybug on a carving a drop of hot glue forms the ladybug's body which
is then coated with red nail polish and when dry the black dots are painted
with acrylic paint.
As each face develops, and details are added to the clothing, the
personality of the character begins to take over, and each piece comes to
life.
A piece of wood has become a carving.